
First sign-in#
Whoever set up the cloud will give you its address. If you set it up yourself, it is the address you chose during installation.
- Open the cloud's address in a browser. It starts with https://.
- Enter your email and password. If two-step verification is on, confirm with a code or a passkey.
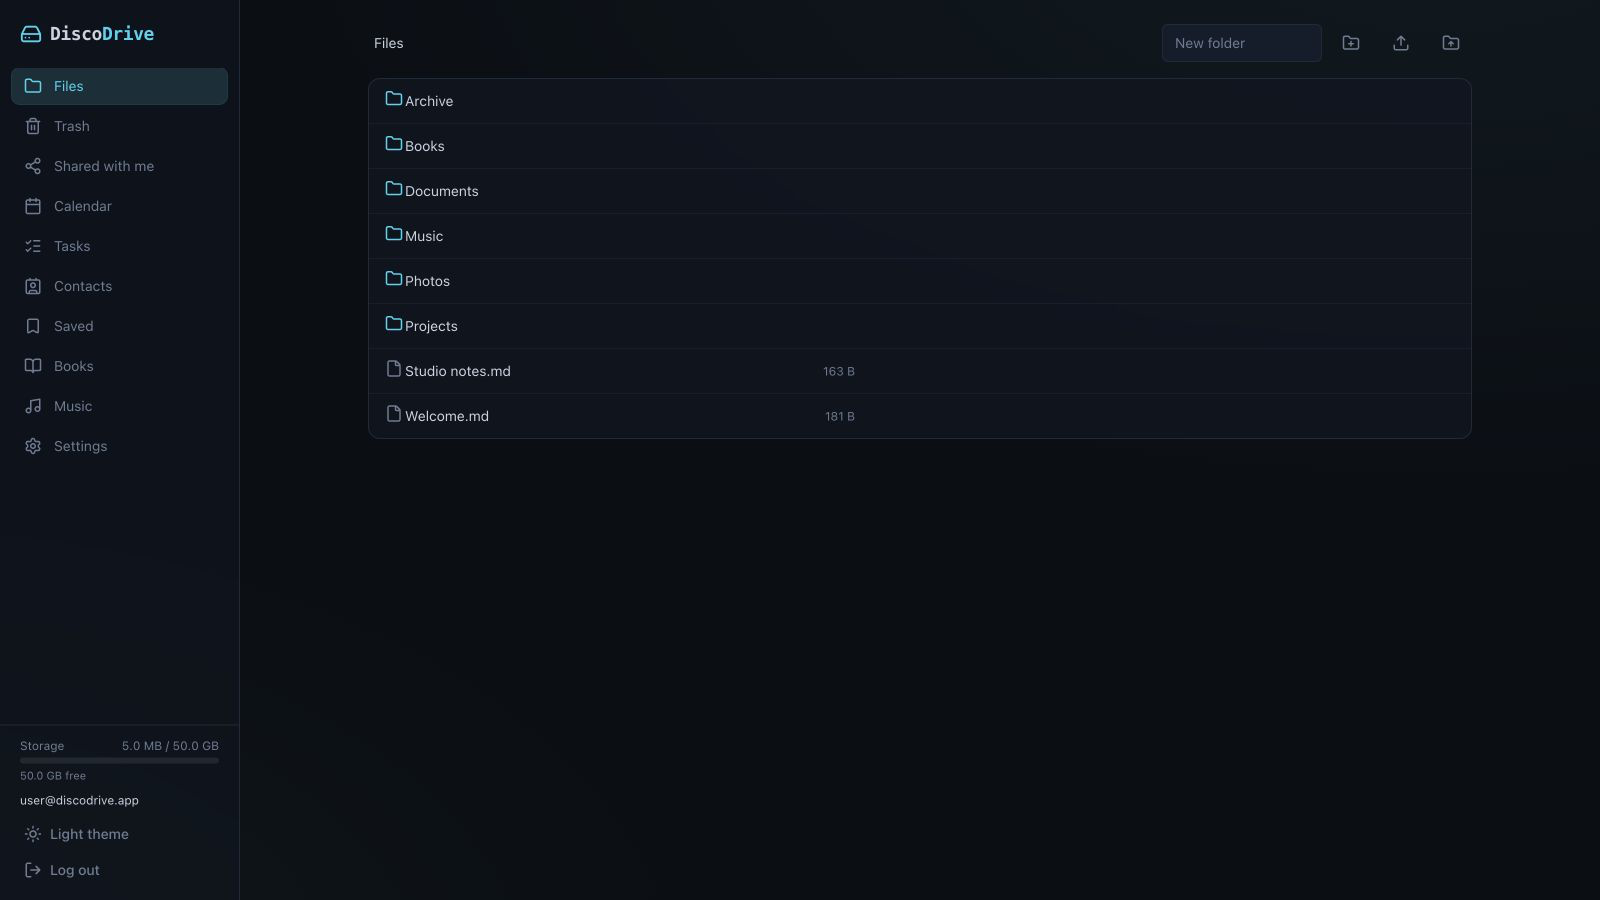
You land in Files. The other sections — Calendar, Tasks, Contacts, Music, Books and Saved — are in the menu on the left.
Uploading files and folders#
- In Files, open the folder you want to upload into. You can create a new folder there too.
- Click Upload and pick files or a folder. Or just drag them into the browser window.
Keep the page open until the upload finishes. If it fails, check that there is enough space and try again.
Back to contents ↑Viewing and managing files#
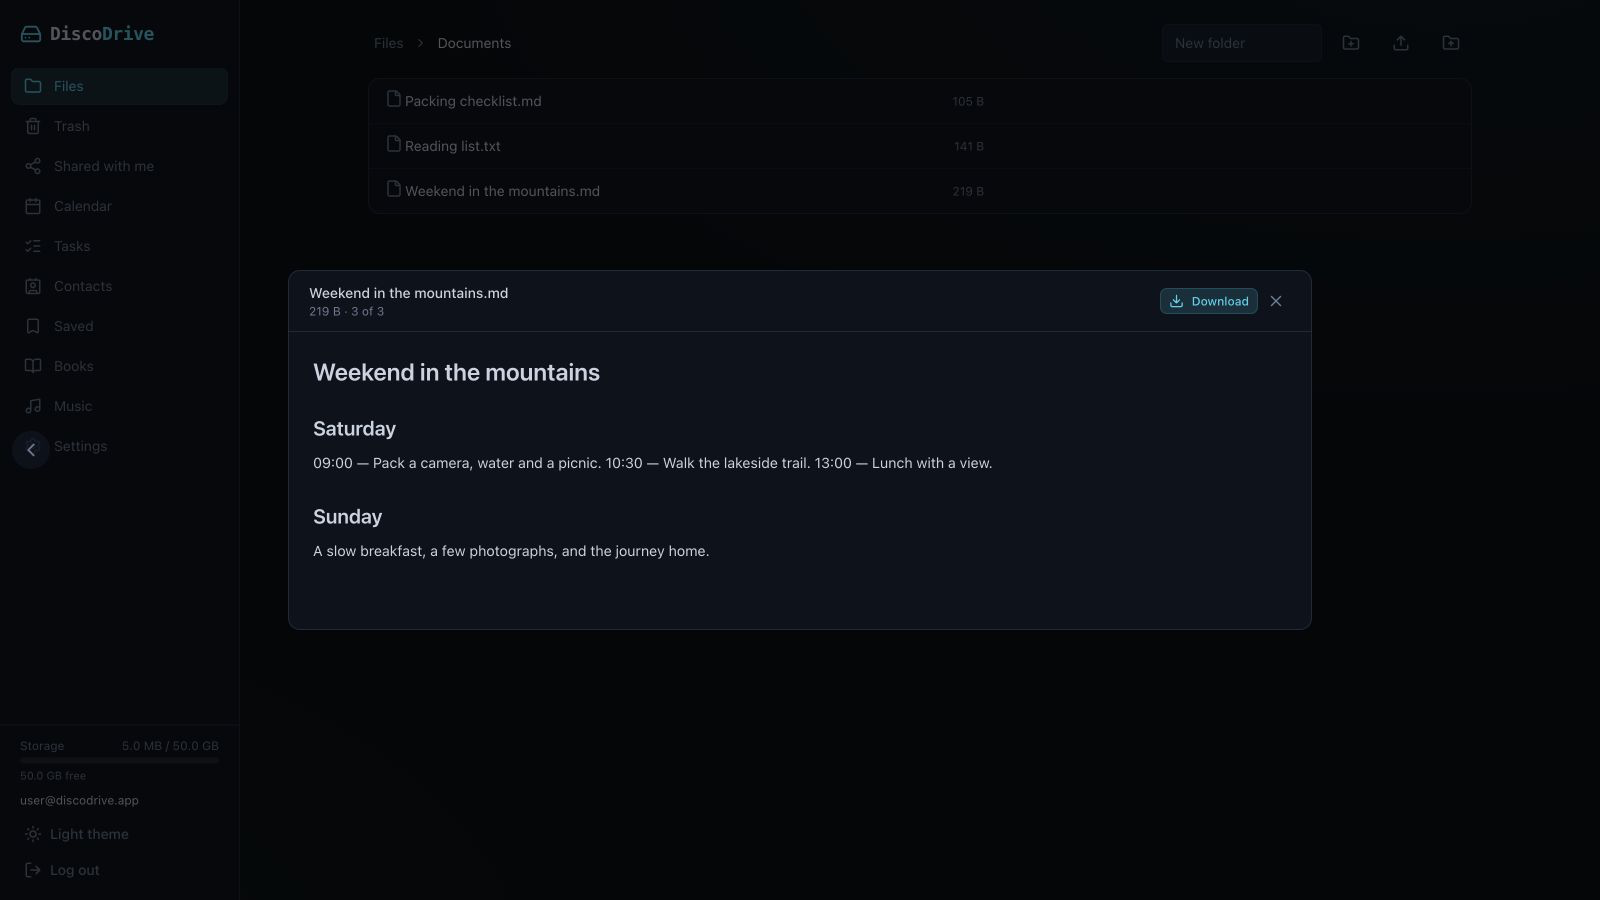
Images, PDFs, Markdown, office documents and code open right in the browser — just click the file.
To download, rename, move or delete a file, use its menu. To download several files at once, select them first.
Trash, versions and conflicts#
Deleted files go to Trash first. To get one back, open Trash, select it and click Restore. How long files stay in Trash is set in the server settings. Once a file is deleted permanently, it cannot be recovered.
To bring back earlier content of a file, open its menu → Version history. This works if the server keeps versions.
If a file was changed in two places at once, a conflict copy appears. Compare the two, keep what you need and delete the extra copy.
Back to contents ↑Connecting a computer or phone#
- Download the app for your device from the apps page.
- Enter your cloud's address in the app. It opens a confirmation page in the browser — sign in there.
- Check that the code in the app matches the one in the browser, and confirm the connection.
If the code expires, start again. A lost or unused device can be disconnected in the cloud's settings.
Finder and Files on iPhone#
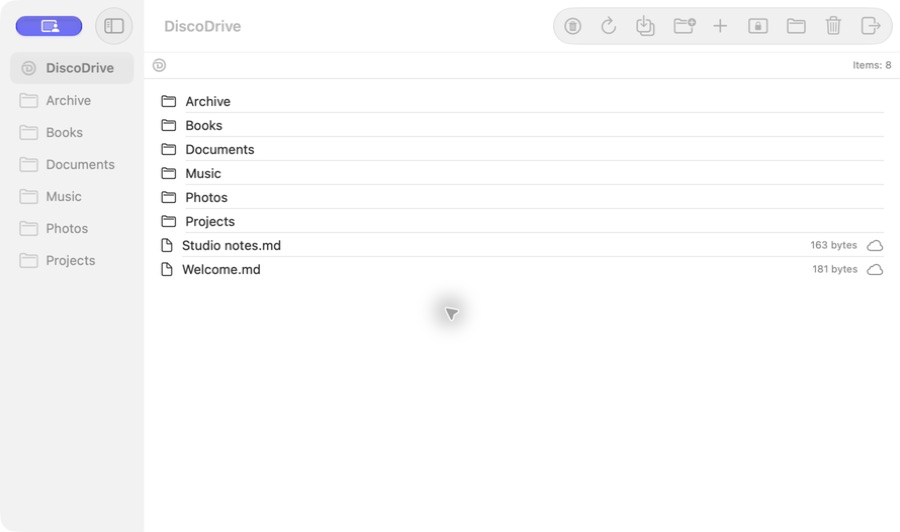
On a Mac, the cloud shows up in Finder once you connect the native DiscoDrive app. Files download when you open them.
On iPhone and iPad, connect the app, then open Files → Browse. If DiscoDrive is not there, turn it on in the list of locations.
Files from the cloud are available to other apps through the usual document picker. Encrypted vaults do not appear in Files: they open only in the DiscoDrive app.
Back to contents ↑Sync and working offline#
To have files available without internet, turn on folder sync. The app keeps a copy on your device and updates it whenever it is online.
- Open the sync settings in the app.
- Choose a folder on the device and a folder in the cloud.
- Wait for the first sync to finish. Until then, the copy on the device is incomplete.
Sync works both ways: a file deleted on the device is deleted in the cloud too. That is why it is not a backup.
Sync errors show up in the app's list of operations.
On iOS, the system decides when the app gets to run in the background. If changes have not appeared, open the app and give it a moment.
Back to contents ↑Automatic photo upload#
- Open the photo upload settings in the mobile app and give it access to your photos.
- Choose a folder in the cloud and turn on automatic upload.
In the same settings you can limit uploads to Wi-Fi or to charging.
The first upload of a large library takes a while. Keep the app open until it is done: the phone restricts it in the background.
Before deleting photos from your phone, open a few of them in the cloud to make sure they are there.
Back to contents ↑Encrypted vault#
A vault is a folder whose contents and file names are encrypted on your device. The server stores only encrypted data. The vault format is Cryptomator.
- Create a vault in the DiscoDrive app and give it its own password.
- Write down the recovery phrase the app shows you and keep it outside the cloud. If you forget the password and lose the phrase, the vault's files cannot be recovered.
- Unlock the vault to work with its files. When you are done, lock it.
In the browser, a vault is view-only. Adding and changing files happens in the app.
Back to contents ↑Music and the equaliser#
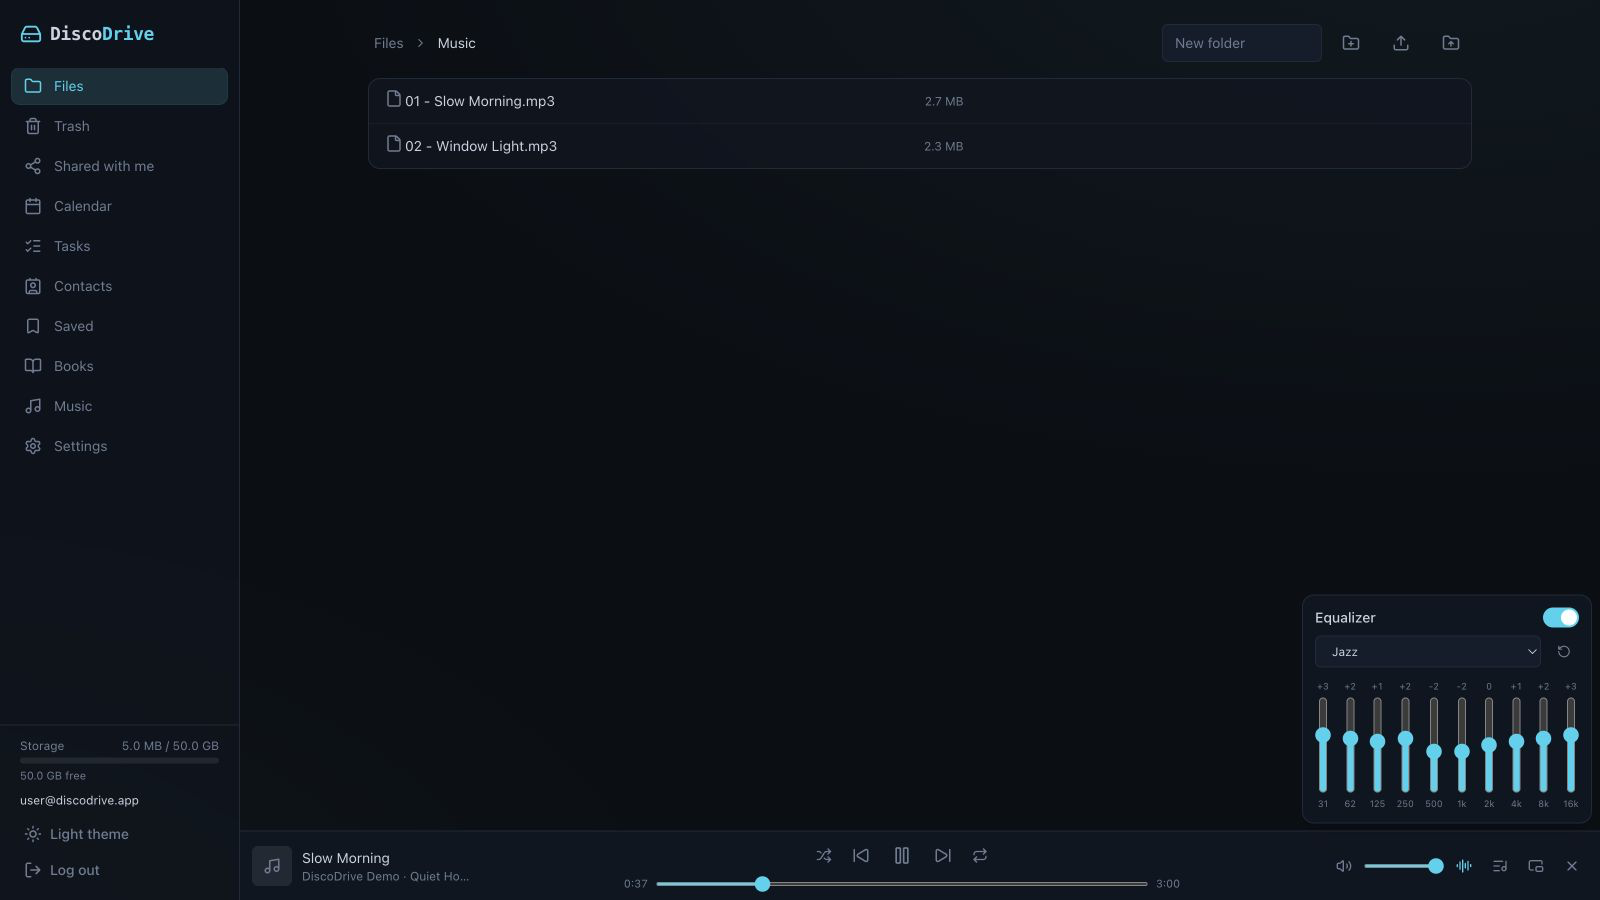
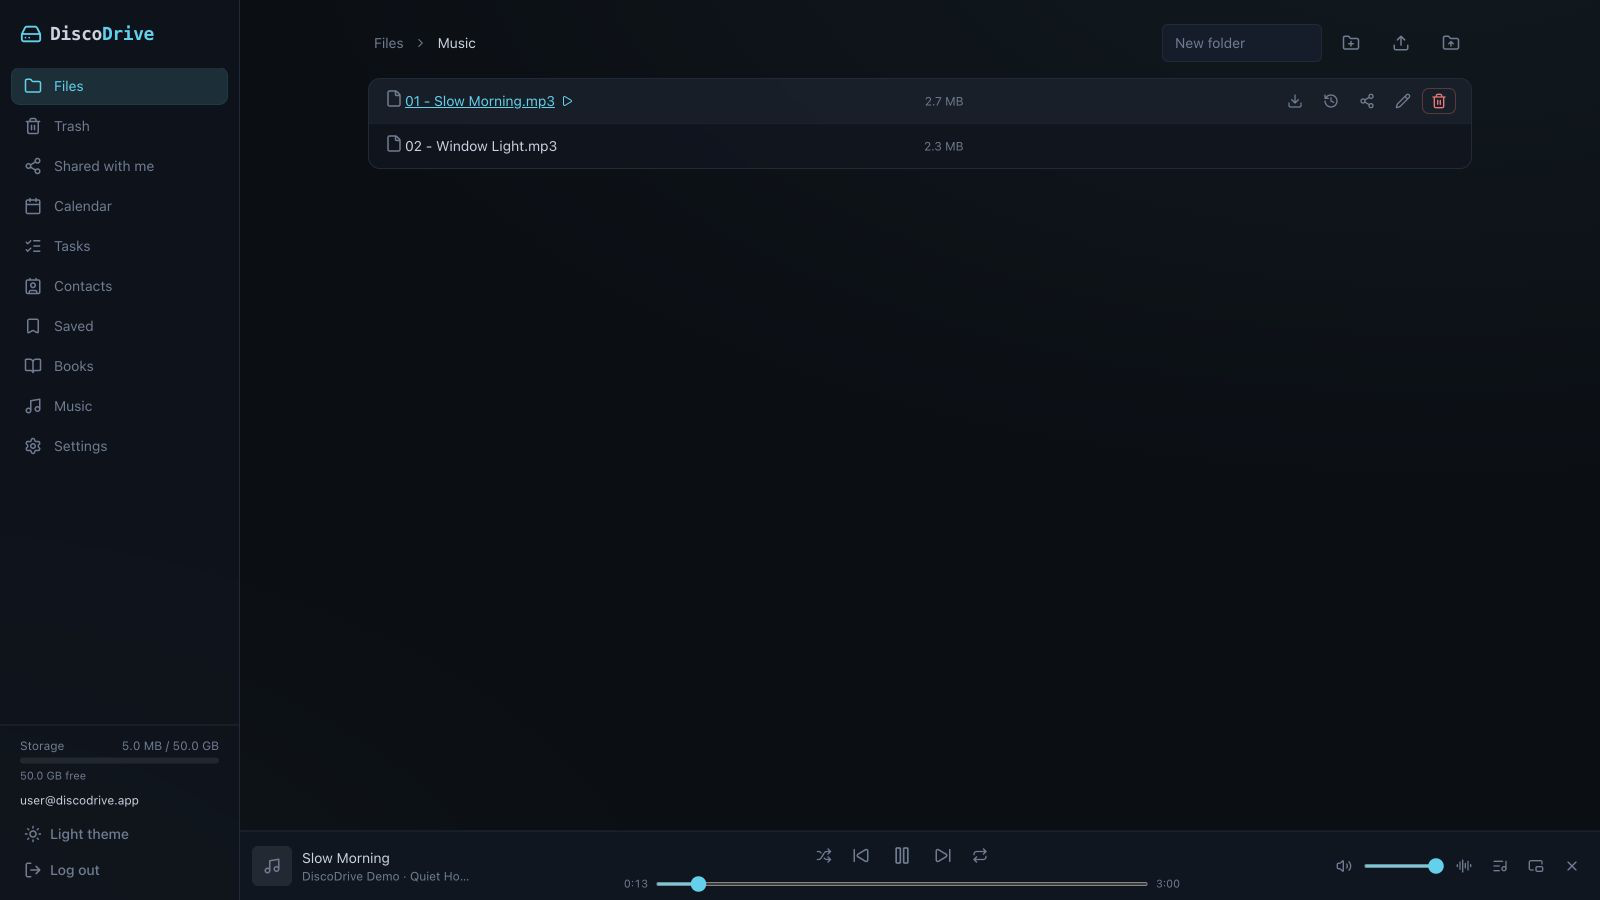
Music and video play straight from Files: click a track, no download needed. The player panel appears at the bottom of the screen and never gets in the way.
The panel has pause, track switching and the queue. The equaliser shapes the sound: pick a preset or set the bands by hand.
To listen in an external player, connect it over OpenSubsonic — see “Connecting third-party programs”.
Music library, radio and podcasts#
Music files can live in any folder. The music library, though, is only the folders you pick for it in the music settings — and the library is what external players see over OpenSubsonic.
The Music section is for browsing the library and editing metadata: title, artist, album, genre and cover, for one track or a whole folder at once. Before a bulk edit, the editor shows how many files it will touch.
Search, playlists, favourites, internet radio and podcasts are available in external players connected over OpenSubsonic, such as Amperfy and Feishin. Downloaded podcast episodes count towards your cloud storage.
Books and e-readers#
Books you upload to the cloud appear in the Books section. EPUB, FB2, PDF, MOBI, CBZ and CBR are supported. You can search by title and narrow the list with filters.
Author, title, series and cover can be edited — for one book or a whole folder at once. If books from a large upload do not show up in the catalogue, rescan the library.
E-readers connect over OPDS with an app password. To have KOReader remember your page on every device, point its progress sync at your DiscoDrive address.
Back to contents ↑Calendars#
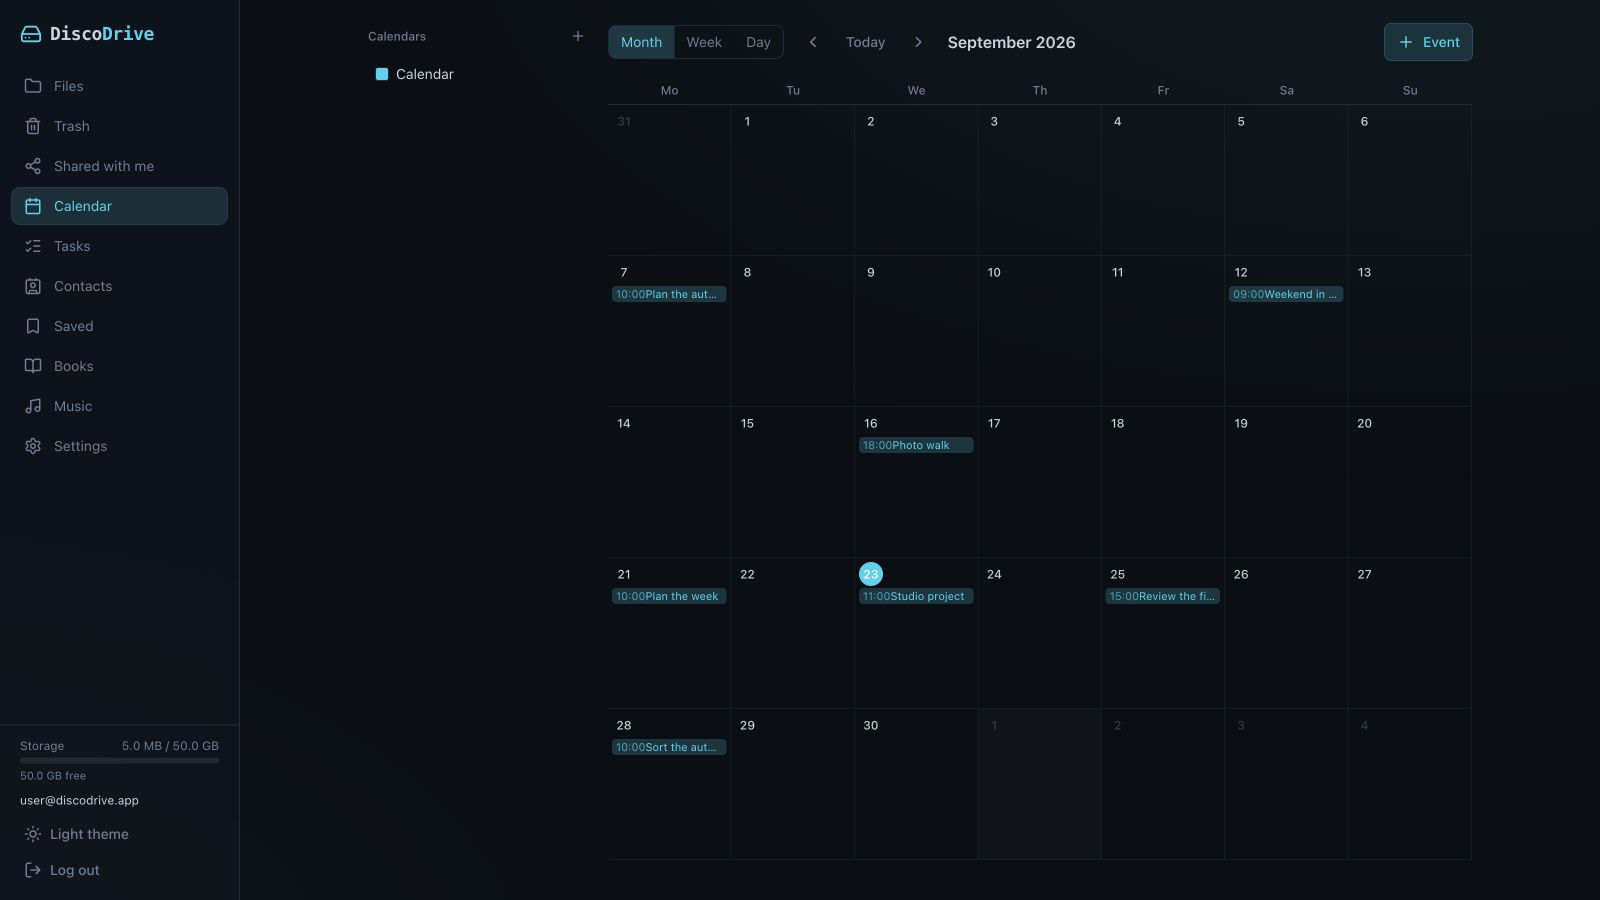
If you do not have a calendar yet, create one in the Calendar section.
- Pick a date.
- Create an event: a title, a start and an end. All-day events have their own switch.
To change or delete an event, open it. If times differ between devices, check the time zone.
To share a calendar with another user of the cloud, open that calendar's settings. A public link lets people subscribe to the calendar, and anyone with the link sees its events.
Tasks and contacts#
In Tasks you can add to-dos, set due dates and tick off what is done.
In Contacts, entries live in address books. An address book can be shared with another user of the cloud.
Contacts are imported and exported as files. Before importing, keep a copy of the original file, and check a few entries afterwards.
To get calendars and contacts on your phone, use CalDAV and CardDAV — see Connecting third-party programs.
Back to contents ↑Bookmarks and read later#
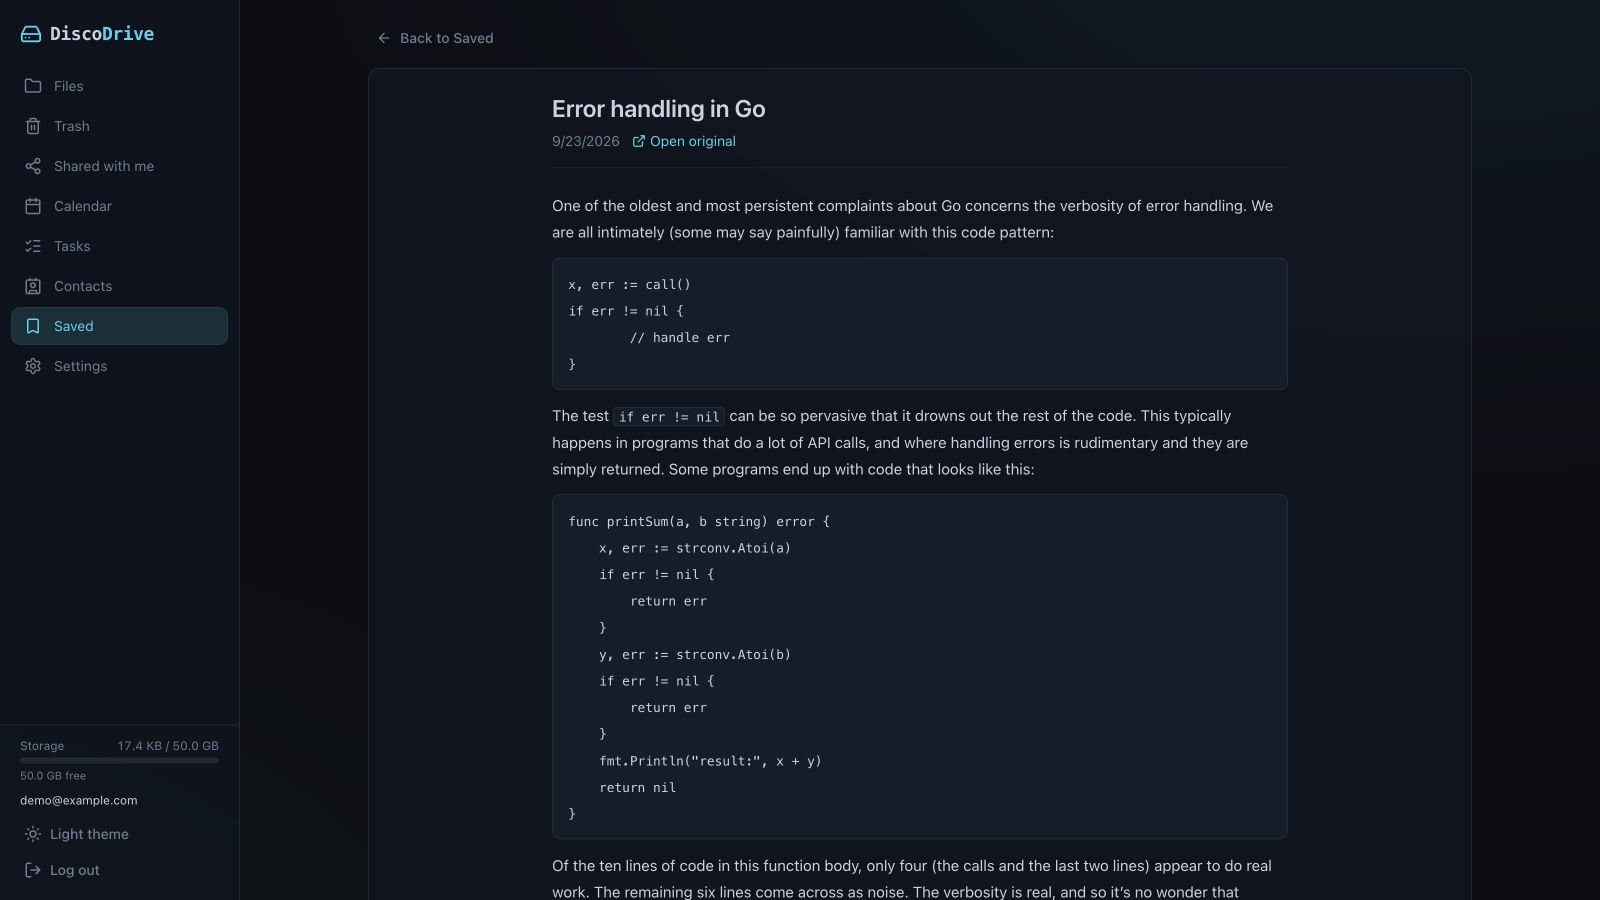
Saved holds two kinds of entries. A bookmark is just a link; bookmarks can be sorted into folders. A saved article is the stored text of a page, which you read in the DiscoDrive web interface.
To save an article, add its address in Saved. Once it has been processed, you can open it.
If an article could not be saved, check the address. For pages you can only see after signing in, use the browser extension: it takes the text straight from the open tab.
Browser extension#
- Install the extension for your browser.
- Connect it to your cloud: the extension shows a code, confirm it in the web interface.
To save an article for later, open it and choose saving from the extension menu.
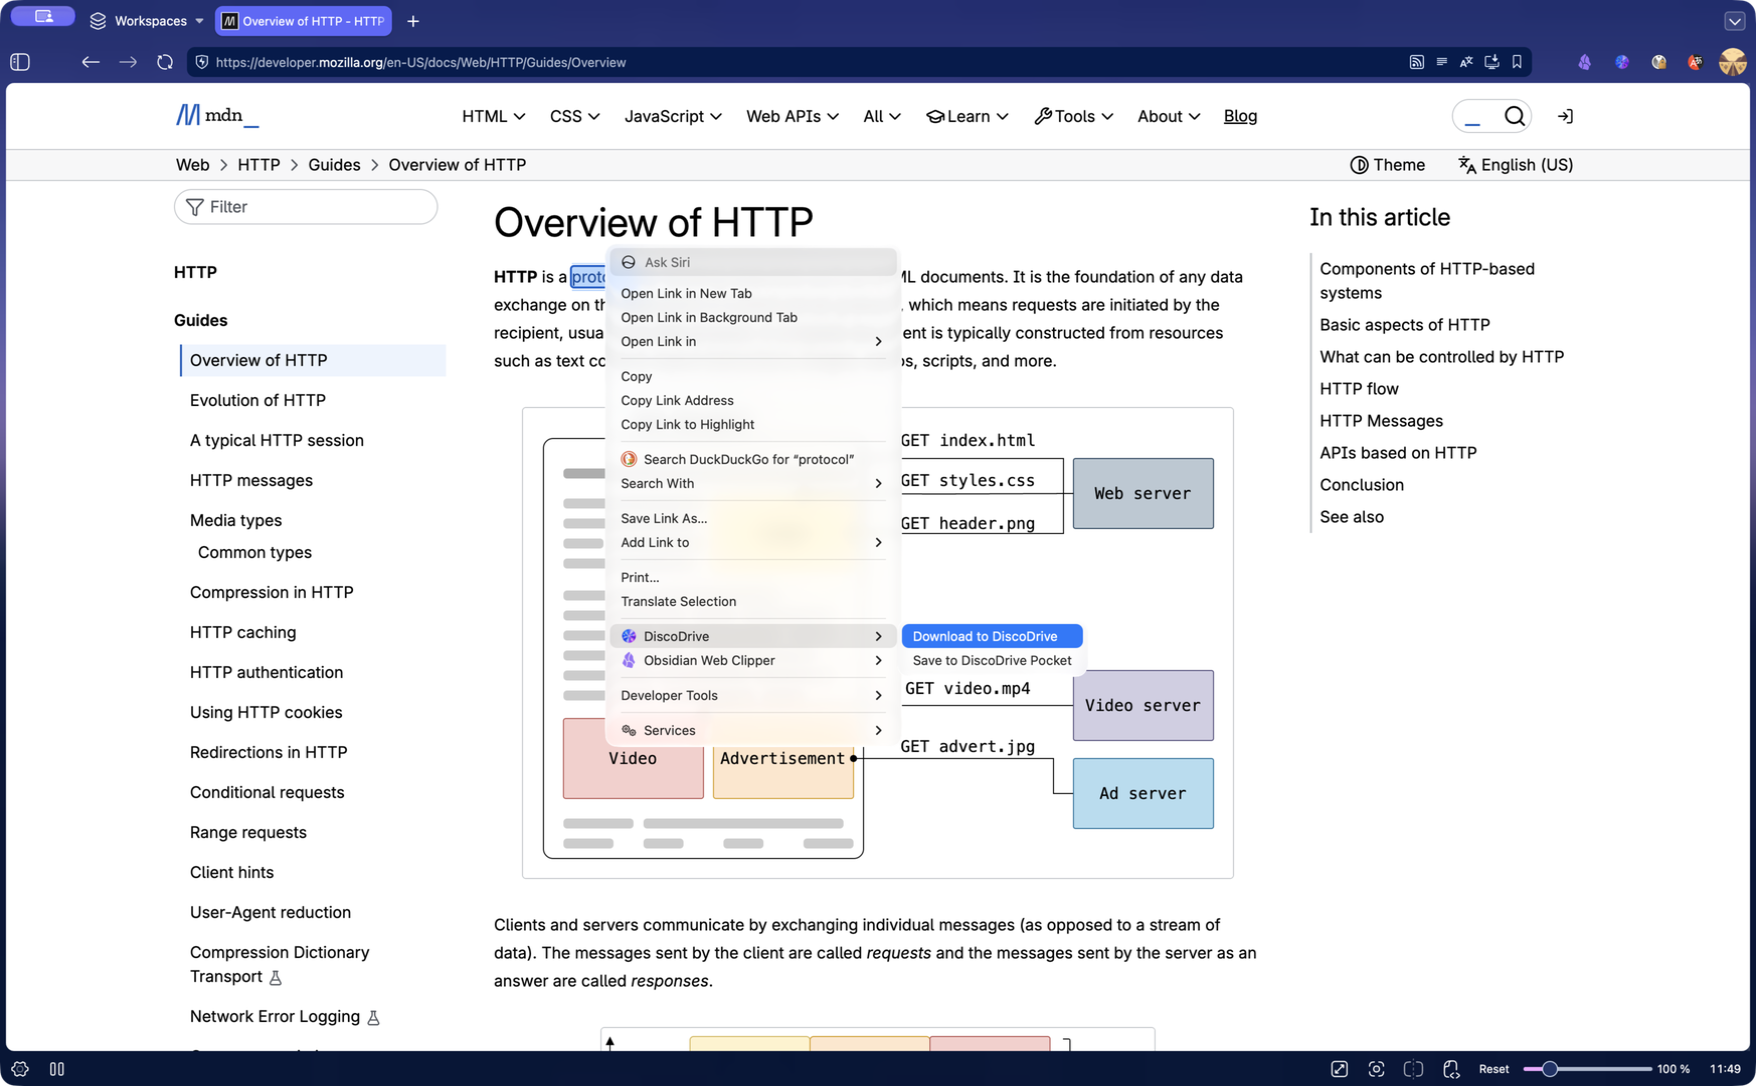
To download a file to the server, right-click a link and choose downloading to DiscoDrive. The server does the downloading, so you can close the browser. The finished file appears in the Downloads folder; progress and errors are shown in Saved.
Bookmark sync is turned on in the extension settings. Before turning it on for the first time, export your browser bookmarks to a file, just in case.
Account security#
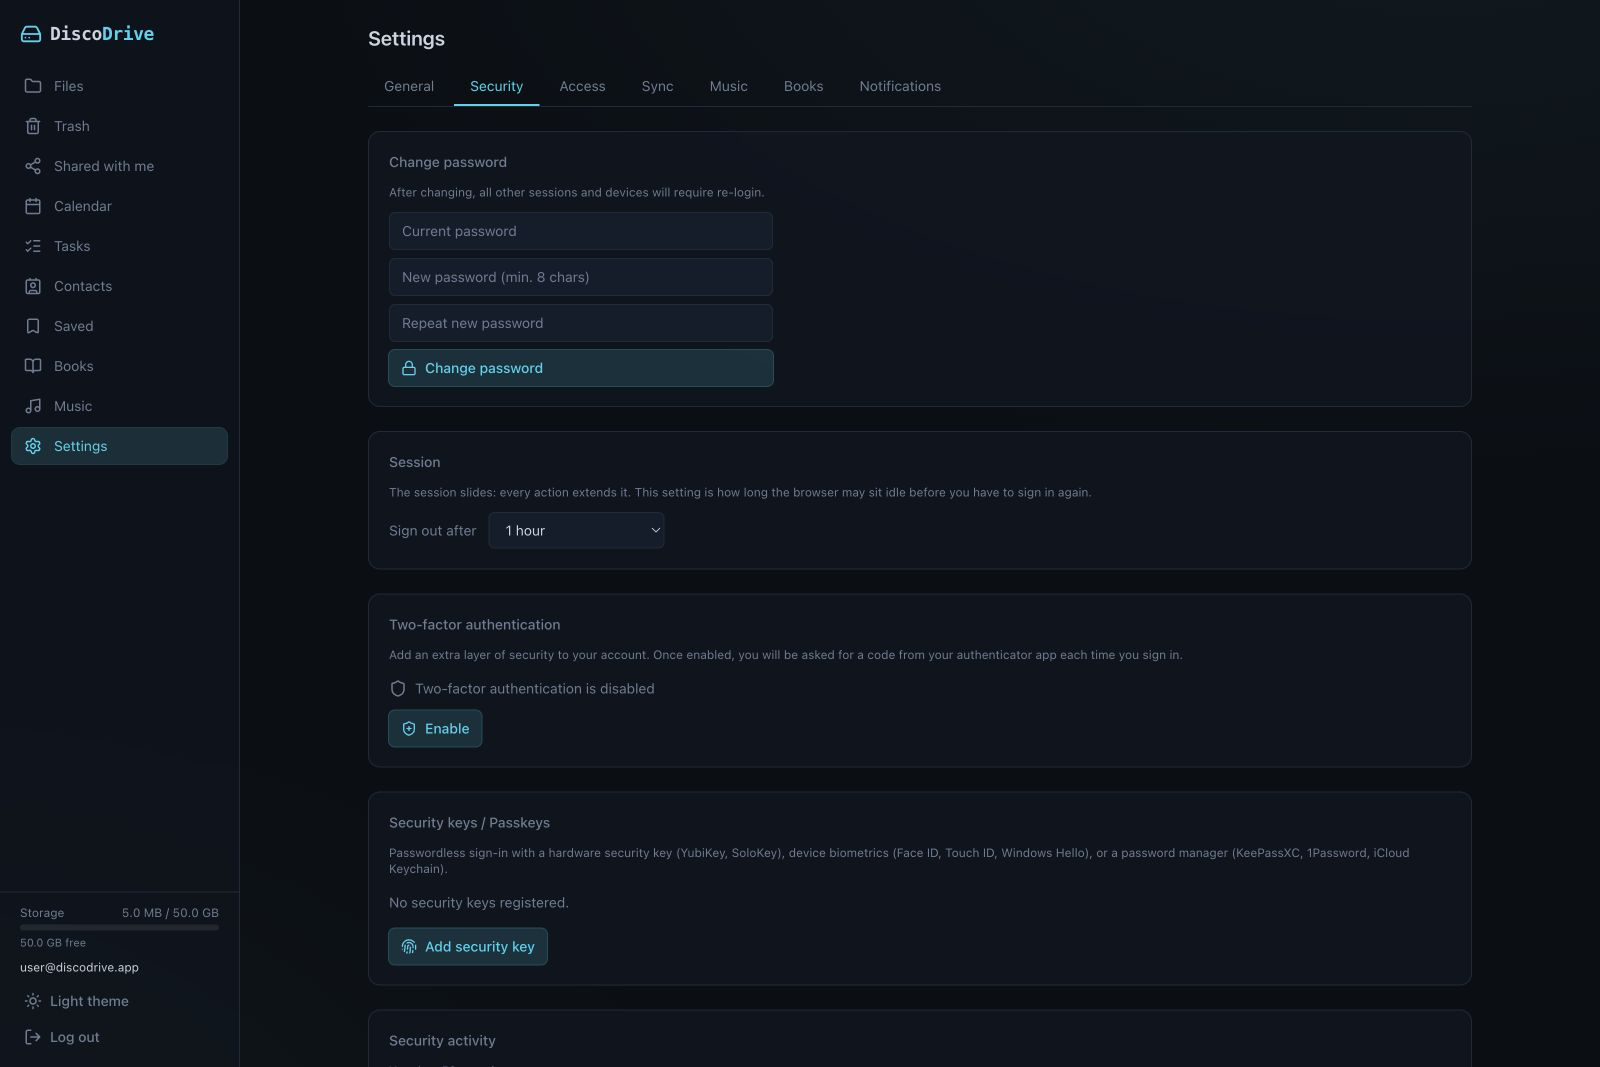
All of this is in Settings, on the Security tab.
- Two-step verification. Connect an authenticator app and keep the backup codes: you will need them if you lose your phone.
- Passkey. Add one and follow your device's prompt. Give it a clear name so you can recognise it in the list later.
- App passwords. Create a separate password for each third-party program, and copy it as soon as it is created.
- Revoke app passwords and devices you no longer use. If you see a suspicious sign-in, check the security log.
Connecting third-party programs#
Third-party programs sign in with your email and an app password, not your main password. Create an app password in the security settings. The address to connect to is your cloud's address plus a path:
- Network drive (WebDAV): /dav/. In Finder, choose Go → Connect to Server.
- Calendars: /caldav/; contacts: /carddav/. On Android, DAVx⁵ works; on iPhone and Mac, use the calendar and contact accounts in system settings.
- Music (Subsonic-compatible players): your cloud's address. If the player asks for the full API address, add /rest/.
- Books (OPDS): /opds/.
If a connection fails, first check that the cloud opens at that address in a browser, then check the path and the app password. Do not turn off certificate checks.
Back to contents ↑Terminal and AI assistant#
dd-cli works with your cloud from the terminal; dd-mcp gives an AI assistant access to it. Install them following the instructions in the CLI repository.
- Sign in with dd-cli login and confirm the connection in the browser. The sign-in is shared by both tools.
- For Claude, run dd-cli setup-claude. For another MCP client, run dd-cli print-config and add the output to its settings.
dd-cli login
dd-cli setup-claude
dd-cli print-config
The assistant can delete, move and rename files only if you allow it.
Back to contents ↑For cloud owners: users and space#
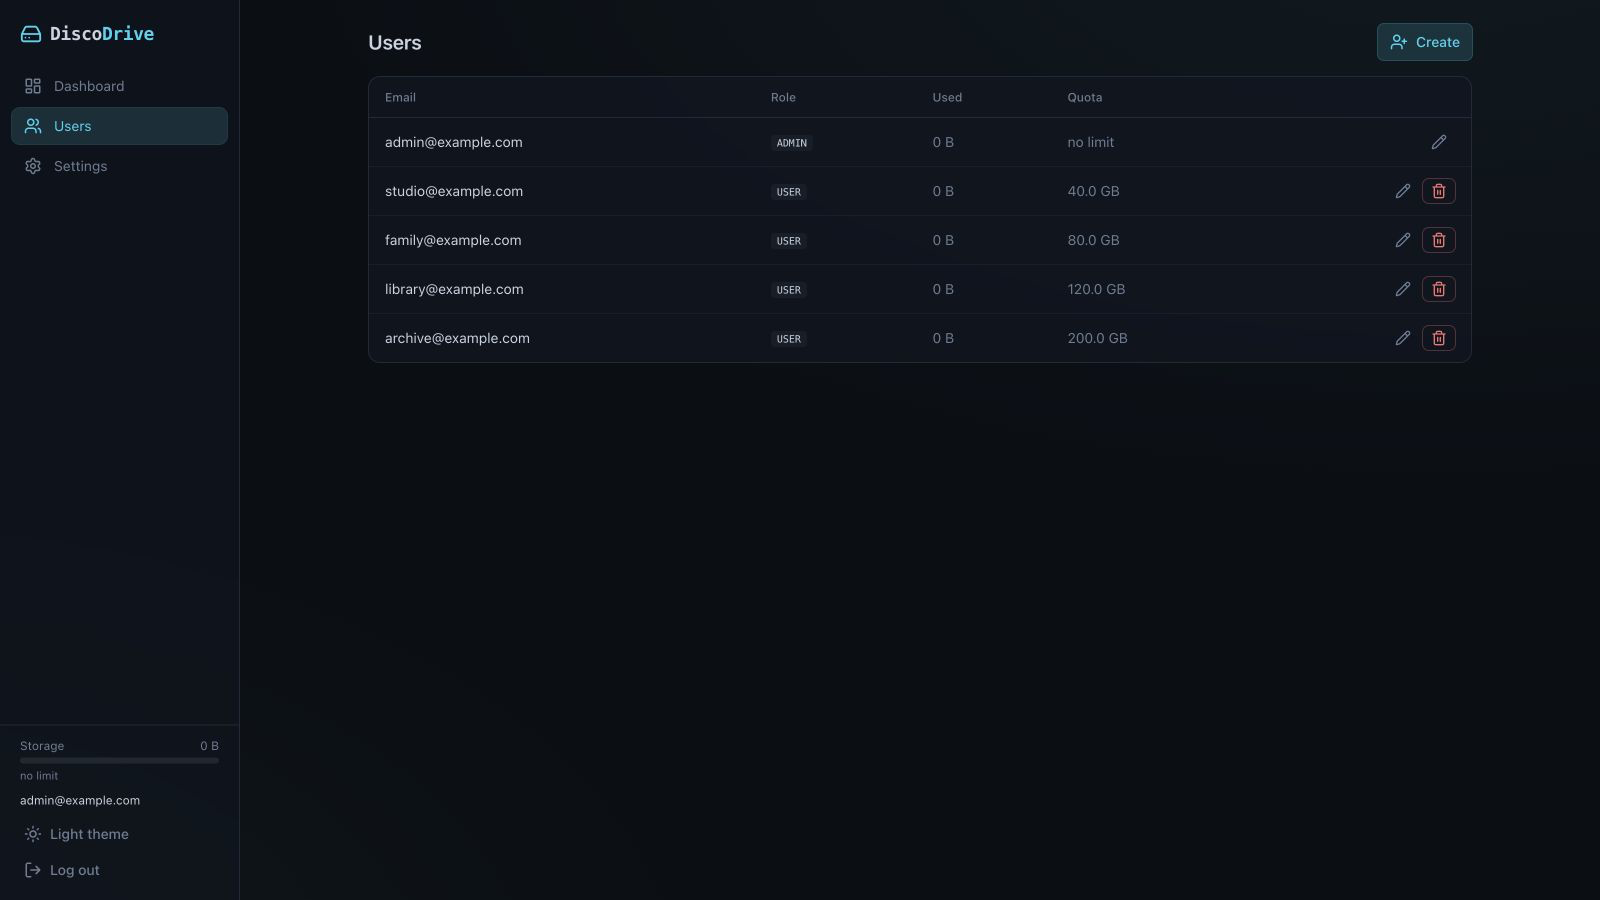
The admin panel opens only for an administrator account.
- Users. Create accounts and give each one a storage limit.
- Space. The panel shows how much is left. Space is taken not only by files but also by the trash, old versions and downloaded content.
- Email. For notifications, set up sending and check it with a test message.
When a limit is reached, new files are not written. Free up space, raise the limit or add storage. Do not empty the trash and versions blindly — make sure they are no longer needed first.
If something does not work#
- The cloud does not open. Check your internet connection and the address. If it does not open from another device either, the problem is on the server. If the server is yours, check that the server is on and DiscoDrive is running on it — see “If the installation does not work” in the installation guide. If not, contact the server owner.
- You cannot sign in. Check your email, password and keyboard layout. If the phone with your codes is not at hand, sign in with a backup code.
- A file does not upload. Check that there is enough space. Downloads by link have their own size limit.
- Changes do not reach another device. Check that the right account is connected, which folder is selected for sync and whether there are errors. On a phone, open the app.
- You need help. If the cloud is not yours, tell its owner what you were doing, when, and what the error said. Never send anyone your password, backup codes or vault keys.