
Choose how to install#
There are two ways.
- Docker Compose is the simplest. The server, the database and nginx start together. You need Git, Docker and Docker Compose.
- Without Docker, if you run PostgreSQL and a web server yourself. You will have to build DiscoDrive from source.
Preparation: server, address and HTTPS#
Before installing you need three things.
- A computer or server that is always on, with room for files and command-line access. Backups are better kept on another device.
- An address. For a public name, set up DNS: an A record pointing to the server's IPv4 address and AAAA to its IPv6 address, if it has one. If the server is at home, reaching it from outside depends on your router and provider.
- A certificate for that name, from your hosting provider or a certificate authority. Set up automatic renewal, or the cloud will stop opening when the certificate expires.
DiscoDrive works only over HTTPS, the first setup included. Only the web server's HTTPS port should be reachable from outside. Do not expose the database port or DiscoDrive's internal HTTP port.
Back to contents ↑Docker: download the server#
You need Git, Docker and Docker Compose installed.
Run the commands below on the server. They download the source and create the .env settings file from the example. Run all later docker compose commands from this same folder.
git clone https://github.com/discodrive-cloud/discodrive.git
cd discodrive
cp .env.example .envDocker: passwords and storage#
- Open .env in a text editor. Set POSTGRES_PASSWORD and put the same password into DATABASE_URL. A password made of random hexadecimal characters is easiest: it needs no encoding in the connection string.
- Generate JWT_SECRET with the first command below and SETTINGS_ENCRYPTION_KEY with the second, and paste the results into .env. The encryption key must be exactly 32 bytes long — the second command prints exactly 32 characters.
- In BASE_DOMAIN, put the cloud's name without https:// and without a path. Leave STORAGE_ROOT=/data as it is: in the standard Compose setup, the data folder next to the Compose file is mounted there.
- To have the address work without a port number, set NGINX_HTTPS_PORT=443. The default is 8443, in which case the port has to be added to the address.
- For the first start, set XACCEL_ENABLED=false so that the DiscoDrive server sends files rather than nginx. Serving through nginx can be turned on later, once nginx is allowed to read the storage.
- Set your time zone in TZ. If the default storage limits and retention periods do not suit you, change them using the reference below.
- Save .env and restrict access to it with the chmod command below.
openssl rand -base64 48
openssl rand -hex 16
chmod 600 .env
Keep the keys somewhere safe and do not change them between restarts: without the original encryption key, stored secret settings cannot be read.
Back to contents ↑Docker: certificate and first start#
- Put the certificate in deploy/nginx/certs (create the folder if it does not exist): the full chain as dev.pem and the private key as dev-key.pem. The standard nginx configuration expects exactly these names.
- Do not publish the private key or add it to Git. The nginx container must be able to read it. When the certificate is renewed, replace the files and reload nginx.
- On Linux, give the application write access to the data folder. First find out which user the container runs as: the first block of commands below shows it and saves the image's user list with their UID and GID. Put those numbers into the second block in place of APP_UID and APP_GID. If the storage already exists, look at its current permissions first.
- Build and start the containers with the third block of commands. The first start takes longer than usual because the application is being built.
- Check that all three containers are running: app, postgres and nginx. If one of them stops, look at its log. The usual causes are missing keys, a wrong database password or a missing certificate.
Check the container account
docker compose build app
docker compose create app
docker inspect --format '{{.Config.User}}' "$(docker compose ps -aq app)"
docker compose cp app:/etc/passwd ./container-passwd.txt
New directory template: substitute UID and GID
mkdir -p data
sudo chown APP_UID:APP_GID data
sudo chmod 750 data
Start and check
docker compose up -d --build
docker compose ps
docker compose logs --tail=100 app nginx postgres
The second block assumes ordinary Docker. With rootless mode or userns-remap, you need the user IDs on the host, which differ from the ones inside the container.
Back to contents ↑First start: create the administrator#
- On the server, in the project folder, read the one-time code with the command below. Without Docker, the code is in .bootstrap/setup-token inside the storage folder.
- Open the cloud's address over HTTPS. If you kept the default port, add :8443 to the address; with 443, no port is needed.
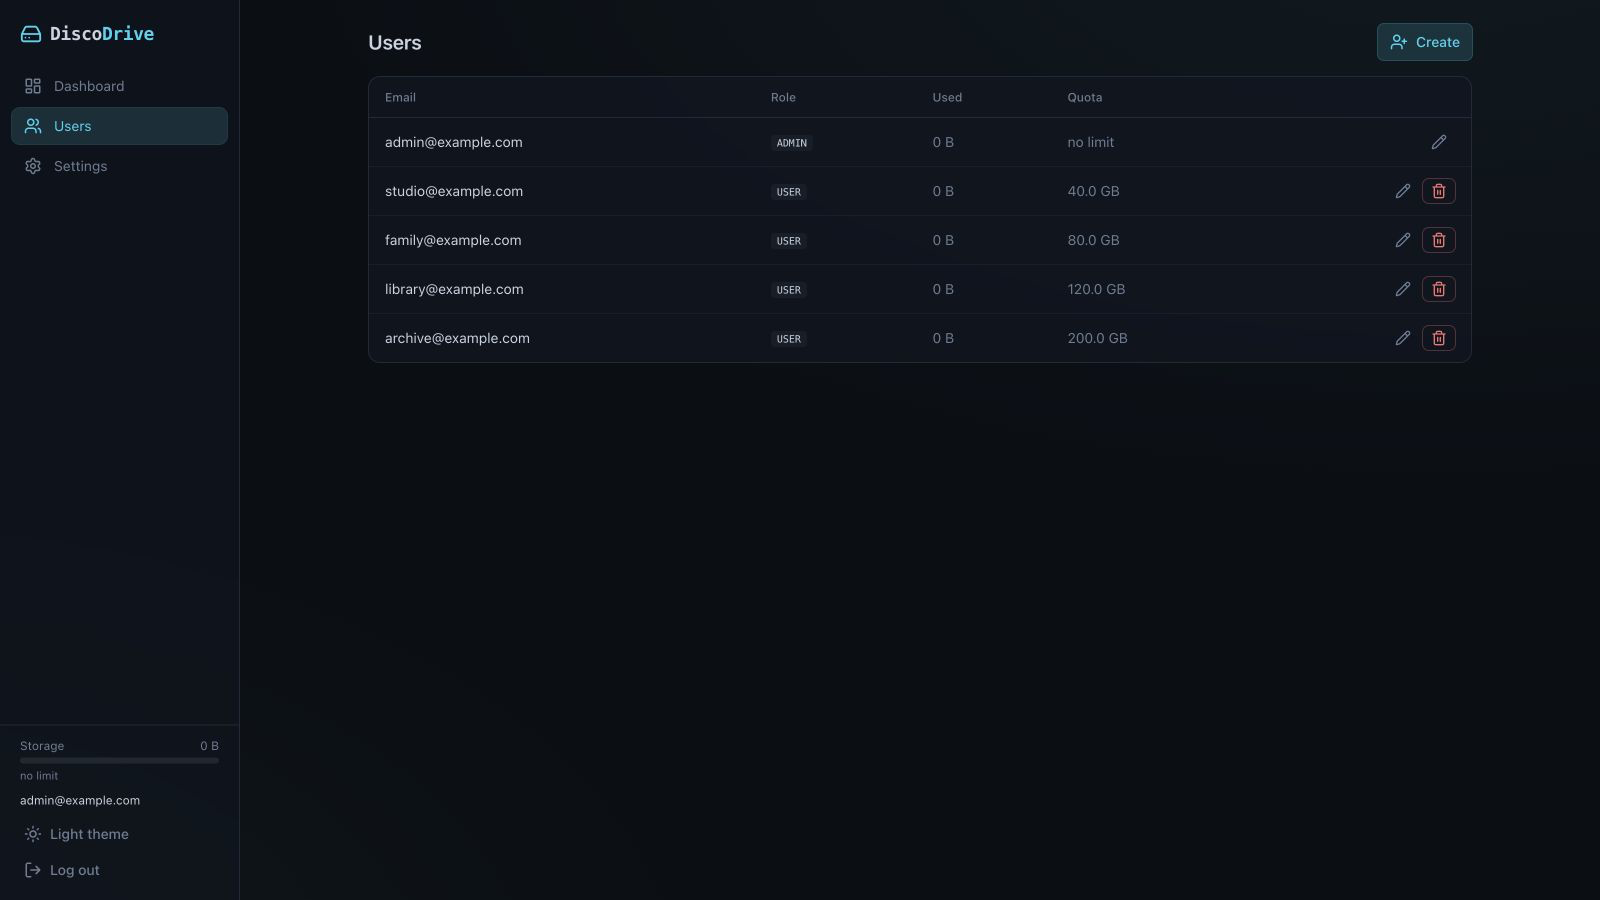
- Enter the code, the administrator's email and a password. Once setup is complete, the code file deletes itself.
- Sign in, upload a small file and download it again — that tells you everything works.
sudo cat data/.bootstrap/setup-tokenFor everyday work, create an ordinary account and keep the administrator account for management.
If access to the cloud is lost, the server owner can use a backup or the access recovery procedure in the README.
Without Docker: building#
Building needs Go 1.25 or later and Node.js 22 or later; running needs PostgreSQL 16 or later.
- Download the server source as in “Docker: download the server” and go into the discodrive folder.
- Build the web interface first, then the server, with the commands below. The result is a single executable, discodrive, with the web interface built in.
cd web
npm install
npm run generate
cd ..
CGO_ENABLED=0 go build -trimpath -o discodrive ./cmd/server
Run the server under a dedicated system account that can reach only its own files and the storage.
Back to contents ↑Without Docker: database, settings and HTTPS#
- As a PostgreSQL administrator, run the first block of commands. Choose a password for the disco user — you will need it in the connection string.
- Create a folder for files and give the DiscoDrive account write access to it.
- Save the settings, following the second block, to a separate file with restricted access, replacing the values in angle brackets with your own. If the database password contains URL special characters, encode them. Create the keys with the same commands as in “Docker: passwords and storage”.
- If the HTTPS proxy runs on the same machine, keep APP_HOST=127.0.0.1 and point the proxy at 127.0.0.1:8080. The proxy must send X-Forwarded-Proto set to https and preserve the Host header. There is an example in the next section.
- If the proxy is on another machine, put its address or subnet in TRUSTED_PROXY_CIDRS and block access to DiscoDrive from everywhere else.
- To have the server start on its own, set up automatic startup as described below. For a one-off run, export the settings into the environment and run ./discodrive. Then complete the first setup over HTTPS.
In the PostgreSQL console environment
createuser disco --pwprompt
createdb discodrive --owner disco
Settings file: /etc/discodrive.env
DATABASE_URL=postgres://disco:<PASSWORD>@localhost:5432/discodrive?sslmode=disable
JWT_SECRET=<GENERATED_JWT_SECRET>
SETTINGS_ENCRYPTION_KEY=<GENERATED_32_BYTE_KEY>
BASE_DOMAIN=cloud.example.com
APP_HOST=127.0.0.1
APP_PORT=8080
STORAGE_ROOT=/var/lib/discodrive/data
XACCEL_ENABLED=falseWithout Docker: example HTTPS proxy#
An example for nginx on the same machine as DiscoDrive. Replace the site name and certificate paths, add the block to your nginx configuration, check it with nginx -t and reload nginx. The private key should be readable only by the system processes that need it.
In this example the DiscoDrive server sends files rather than nginx, so XACCEL_ENABLED=false.
server {
    listen 443 ssl;
    server_name cloud.example.com;
    ssl_certificate /etc/ssl/discodrive/fullchain.pem;
    ssl_certificate_key /etc/ssl/discodrive/privkey.pem;
    ssl_protocols TLSv1.2 TLSv1.3;
    client_max_body_size 0;
    access_log off;
    location / {
        proxy_pass http://127.0.0.1:8080;
        proxy_set_header Host $host;
        proxy_set_header X-Forwarded-Proto $scheme;
        proxy_set_header X-Forwarded-For $remote_addr;
        proxy_set_header X-Real-IP $remote_addr;
        proxy_http_version 1.1;
        proxy_request_buffering off;
        proxy_buffering off;
        proxy_read_timeout 3600s;
    }
}Starting automatically on Linux#
This section is for installations without Docker. If you installed with Docker, the containers already start on their own; skip to updates and backups.
- Run the first block of commands. It creates the discodrive system user, copies the program to /usr/local/bin, creates /var/lib/discodrive/data and makes /etc/discodrive.env readable by root only. If your paths differ, change them here, in the service file and in the settings.
- Check that /etc/discodrive.env has one setting per line, as KEY=value, without export.
- Create /etc/systemd/system/discodrive.service with the contents of the second block.
- Enable the service with the third block and check its status and log.
Linux terminal: preparation
sudo useradd --system --user-group --home-dir /var/lib/discodrive --shell /usr/sbin/nologin discodrive
sudo install -m 755 discodrive /usr/local/bin/discodrive
sudo install -d -o discodrive -g discodrive -m 750 /var/lib/discodrive/data
sudo chown root:root /etc/discodrive.env
sudo chmod 600 /etc/discodrive.env
File: /etc/systemd/system/discodrive.service
[Unit]
Description=DiscoDrive
After=network.target postgresql.service

[Service]
User=discodrive
ExecStart=/usr/local/bin/discodrive
EnvironmentFile=/etc/discodrive.env
Restart=on-failure

[Install]
WantedBy=multi-user.target
Enable and check the service
sudo systemctl daemon-reload
sudo systemctl enable --now discodrive
sudo systemctl status discodrive
sudo journalctl -u discodrive -n 100
The service starts when the server boots and restarts after a crash. To update the program, stop the service, replace the file and start it again.
Back to contents ↑Updates and backups#
A backup is a copy of the PostgreSQL database and the storage folder, hidden service files included. For a consistent copy, the easiest way is to stop app and nginx for a while and leave the database running.
Keep settings and keys separately, and the settings encryption key away from the database copy. Every so often, check on a separate installation that you can actually restore from the backup. Device sync is not a backup.
Make a backup before updating: the database schema is upgraded when the new version starts, and going back to the old program does not roll the database back.
- Docker: in the project folder, run git pull, then docker compose up -d --build. Check the containers, signing in and downloading a file.
- Without Docker: build the new version, stop the service, replace the program and start it again.
docker compose down stops the installation and keeps the database data. Do not add --volumes or -v: with them the database is deleted.
Back to contents ↑If the installation does not work#
- app does not start. Look at its log, and check that PostgreSQL is reachable, the connection string and the key lengths. When asking for help, do not post your whole .env.
- nginx does not start. Check that the certificate and key are there under the right names and readable, and that the chosen HTTPS port is free.
- The browser warns about the certificate. Check the site name, the expiry date and that the chain is complete. Fix the certificate rather than turning off the check.
- Files are listed but do not download. With XACCEL_ENABLED=true, nginx has to be able to read the storage. Give it access through a dedicated group or an ACL that accounts for the container's user, rather than opening the storage to every user on the machine.
- Changed .env — recreate the containers with docker compose up -d. Replaced the certificate — reload nginx.
Before posting a log, remove passwords, tokens and internal addresses from it.
Back to contents ↑Configuration reference
Use .env for Docker or process environment variables for native installations. The full example ships with the source.
| Variable | What it sets |
|---|---|
DATABASE_URL | Connection to PostgreSQL, where the index and the metadata live. |
JWT_SECRET | The key sessions are signed with. |
SETTINGS_ENCRYPTION_KEY | The key the stored service settings are encrypted with. |
BASE_DOMAIN | The domain this deployment answers on. |
APP_HOST | The address the service listens on. |
APP_PORT | The port the service listens on. |
STORAGE_ROOT | The storage folder. Files in it have the same names as in the interface. |
STORAGE_TOTAL_GB | Total storage limit in GB. Once it is used up, writes stop. |
DEFAULT_USER_QUOTA_GB | Quota for a new user in GB. It can be changed later in the admin panel. |
TRASH_DAYS | How many days files stay in the trash. |
VERSION_KEEP | How many versions of a file to keep. Zero keeps none. |
RESCAN_SECONDS | How often, in seconds, to check for changes made directly in the storage folder. |
XACCEL_ENABLED | Serve files through nginx. DiscoDrive checks permissions, nginx sends the file. |
SAVED_MAX_DOWNLOAD_MB | Maximum size, in MB, of a file the server downloads from a link. |